How to: Rustic DIY Herb Drying Rack for Your Boho Kitchen
This post will walk you through how to create a DIY herb drying rack.
Looking for a creative way to dry fresh herbs? Consider a DIY hanging rack! I was searching for a simple way to add a touch of French countryside charm to my kitchen, and this project totally satisfied my vision. Plus, the drying rack is as practical as it is adorable. If you grow your own fresh herbs, this is an excellent way to dry them in a fun and functional way.
Houseplants have long been a favorite way to add a botanical touch to boho interiors. However, if you’re not feeling the typical potted philodendron look, herbs are a unique alternative! Dried herbs require no upkeep and they will give your interior a touch of green rusticity. A DIY hanging herb drying rack is also a great solution for small spaces. It can be hard to find storage in a small cooking space, and an herb rack can double as wall decor.
CHOOSING THE HERBS FOR YOUR DIY DRYING RACK
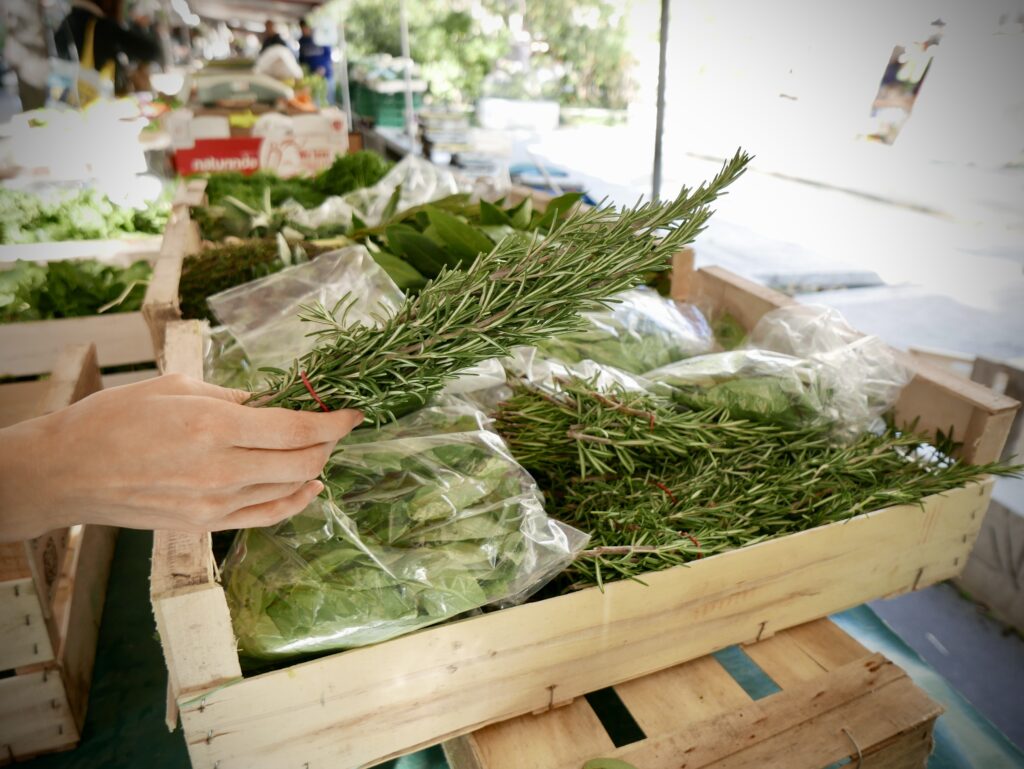
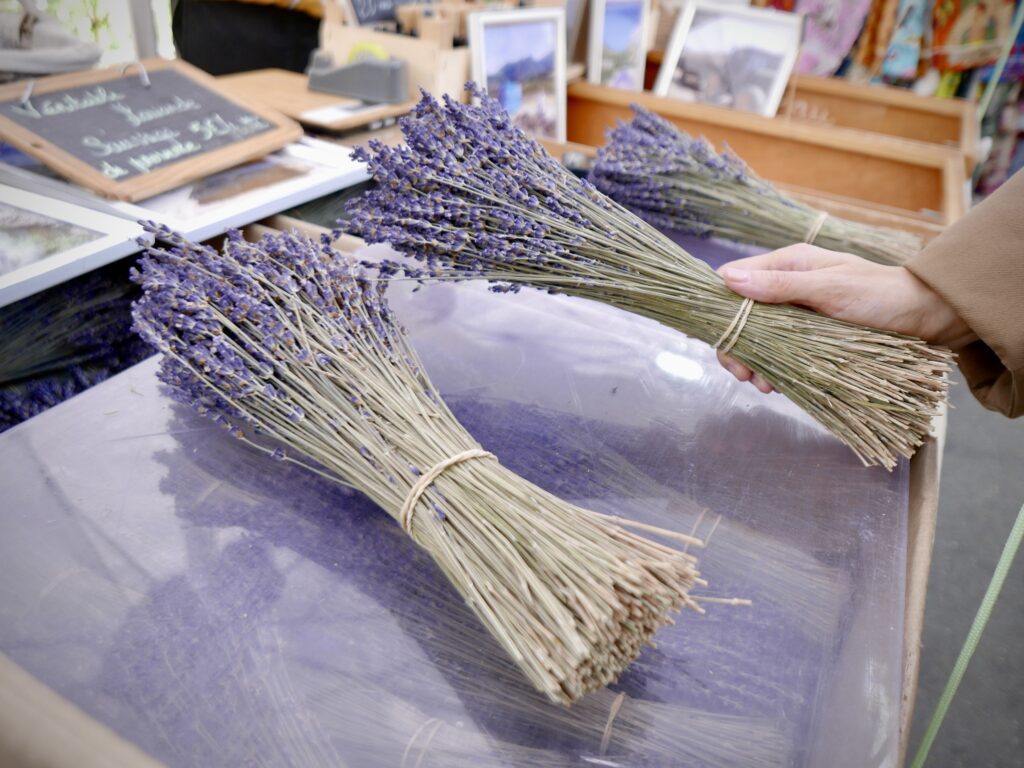
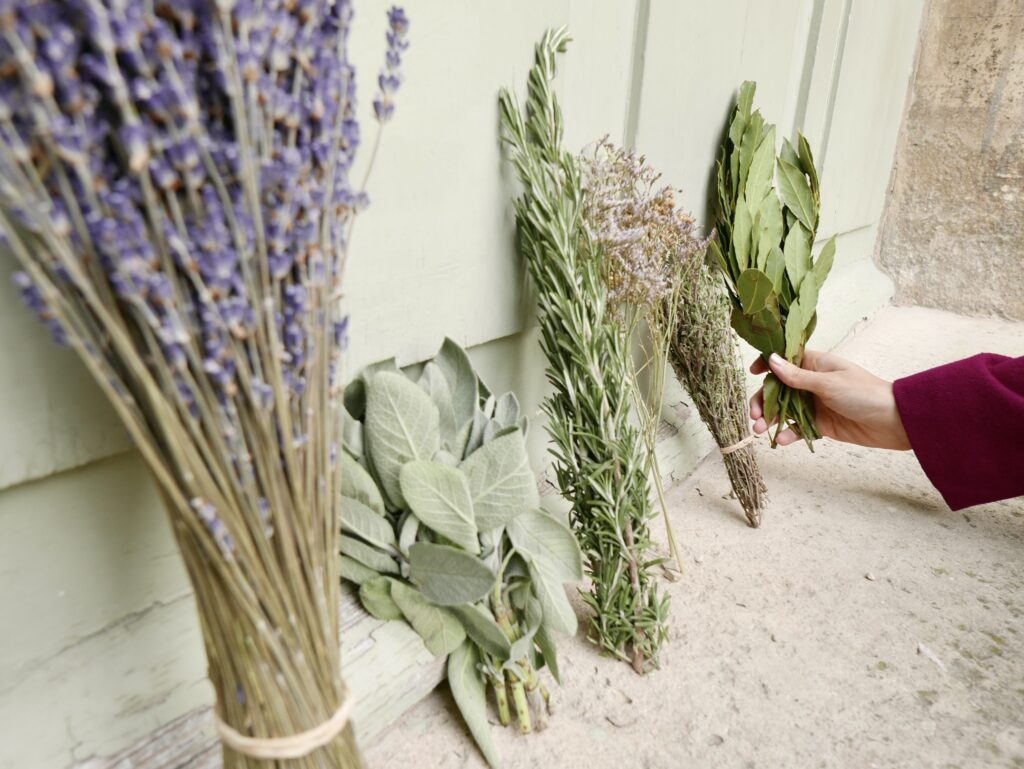
If you don’t have your own herb garden, you can gather fresh herbs from your local farmer’s market or natural food store. I visited a nearby farmer’s market that had bunches of fresh herbs to choose from. It’s important to choose herbs for your rack that can be easily air-dried. A few of my favorite low-maintenance herbs include:
-Rosemary
-Thyme
-Dill
-Sage
-Bay leaves
-Lavender
Herbs with more moisture like basil, mint, and cilantro can mold if they aren’t dehydrated properly, so it’s better to stick to herbs that have a low-moisture content if you plan to exclusively air dry. However, if you have a dehydrator at home, you can use the rack as a display tool rather than a drying method.
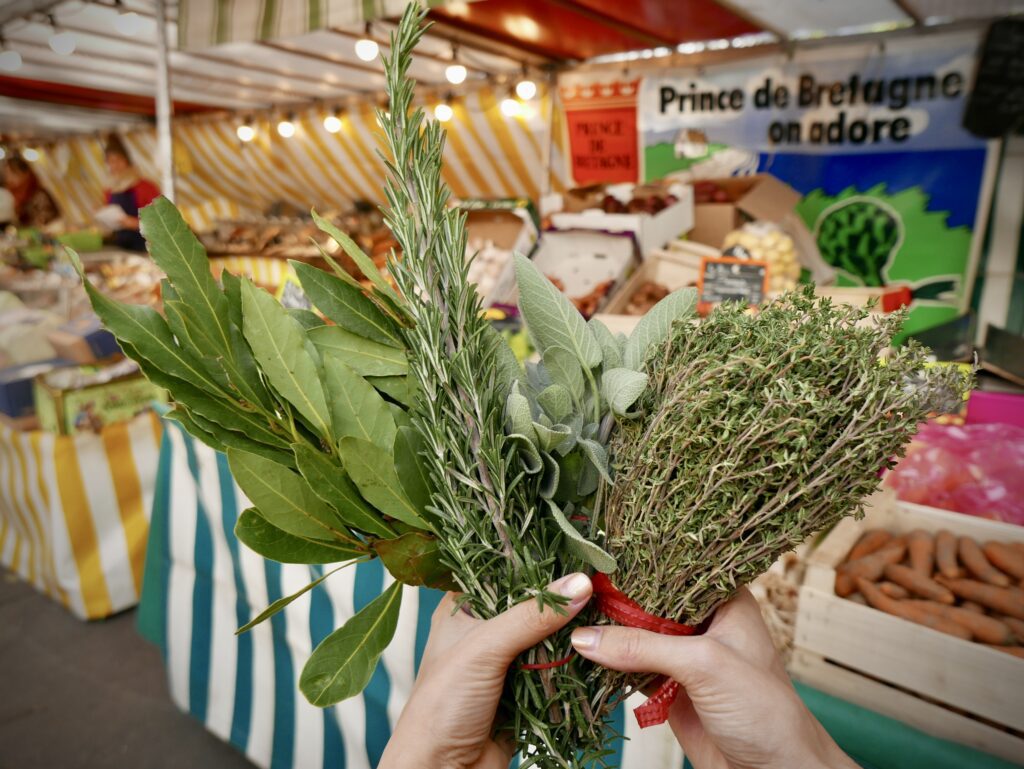
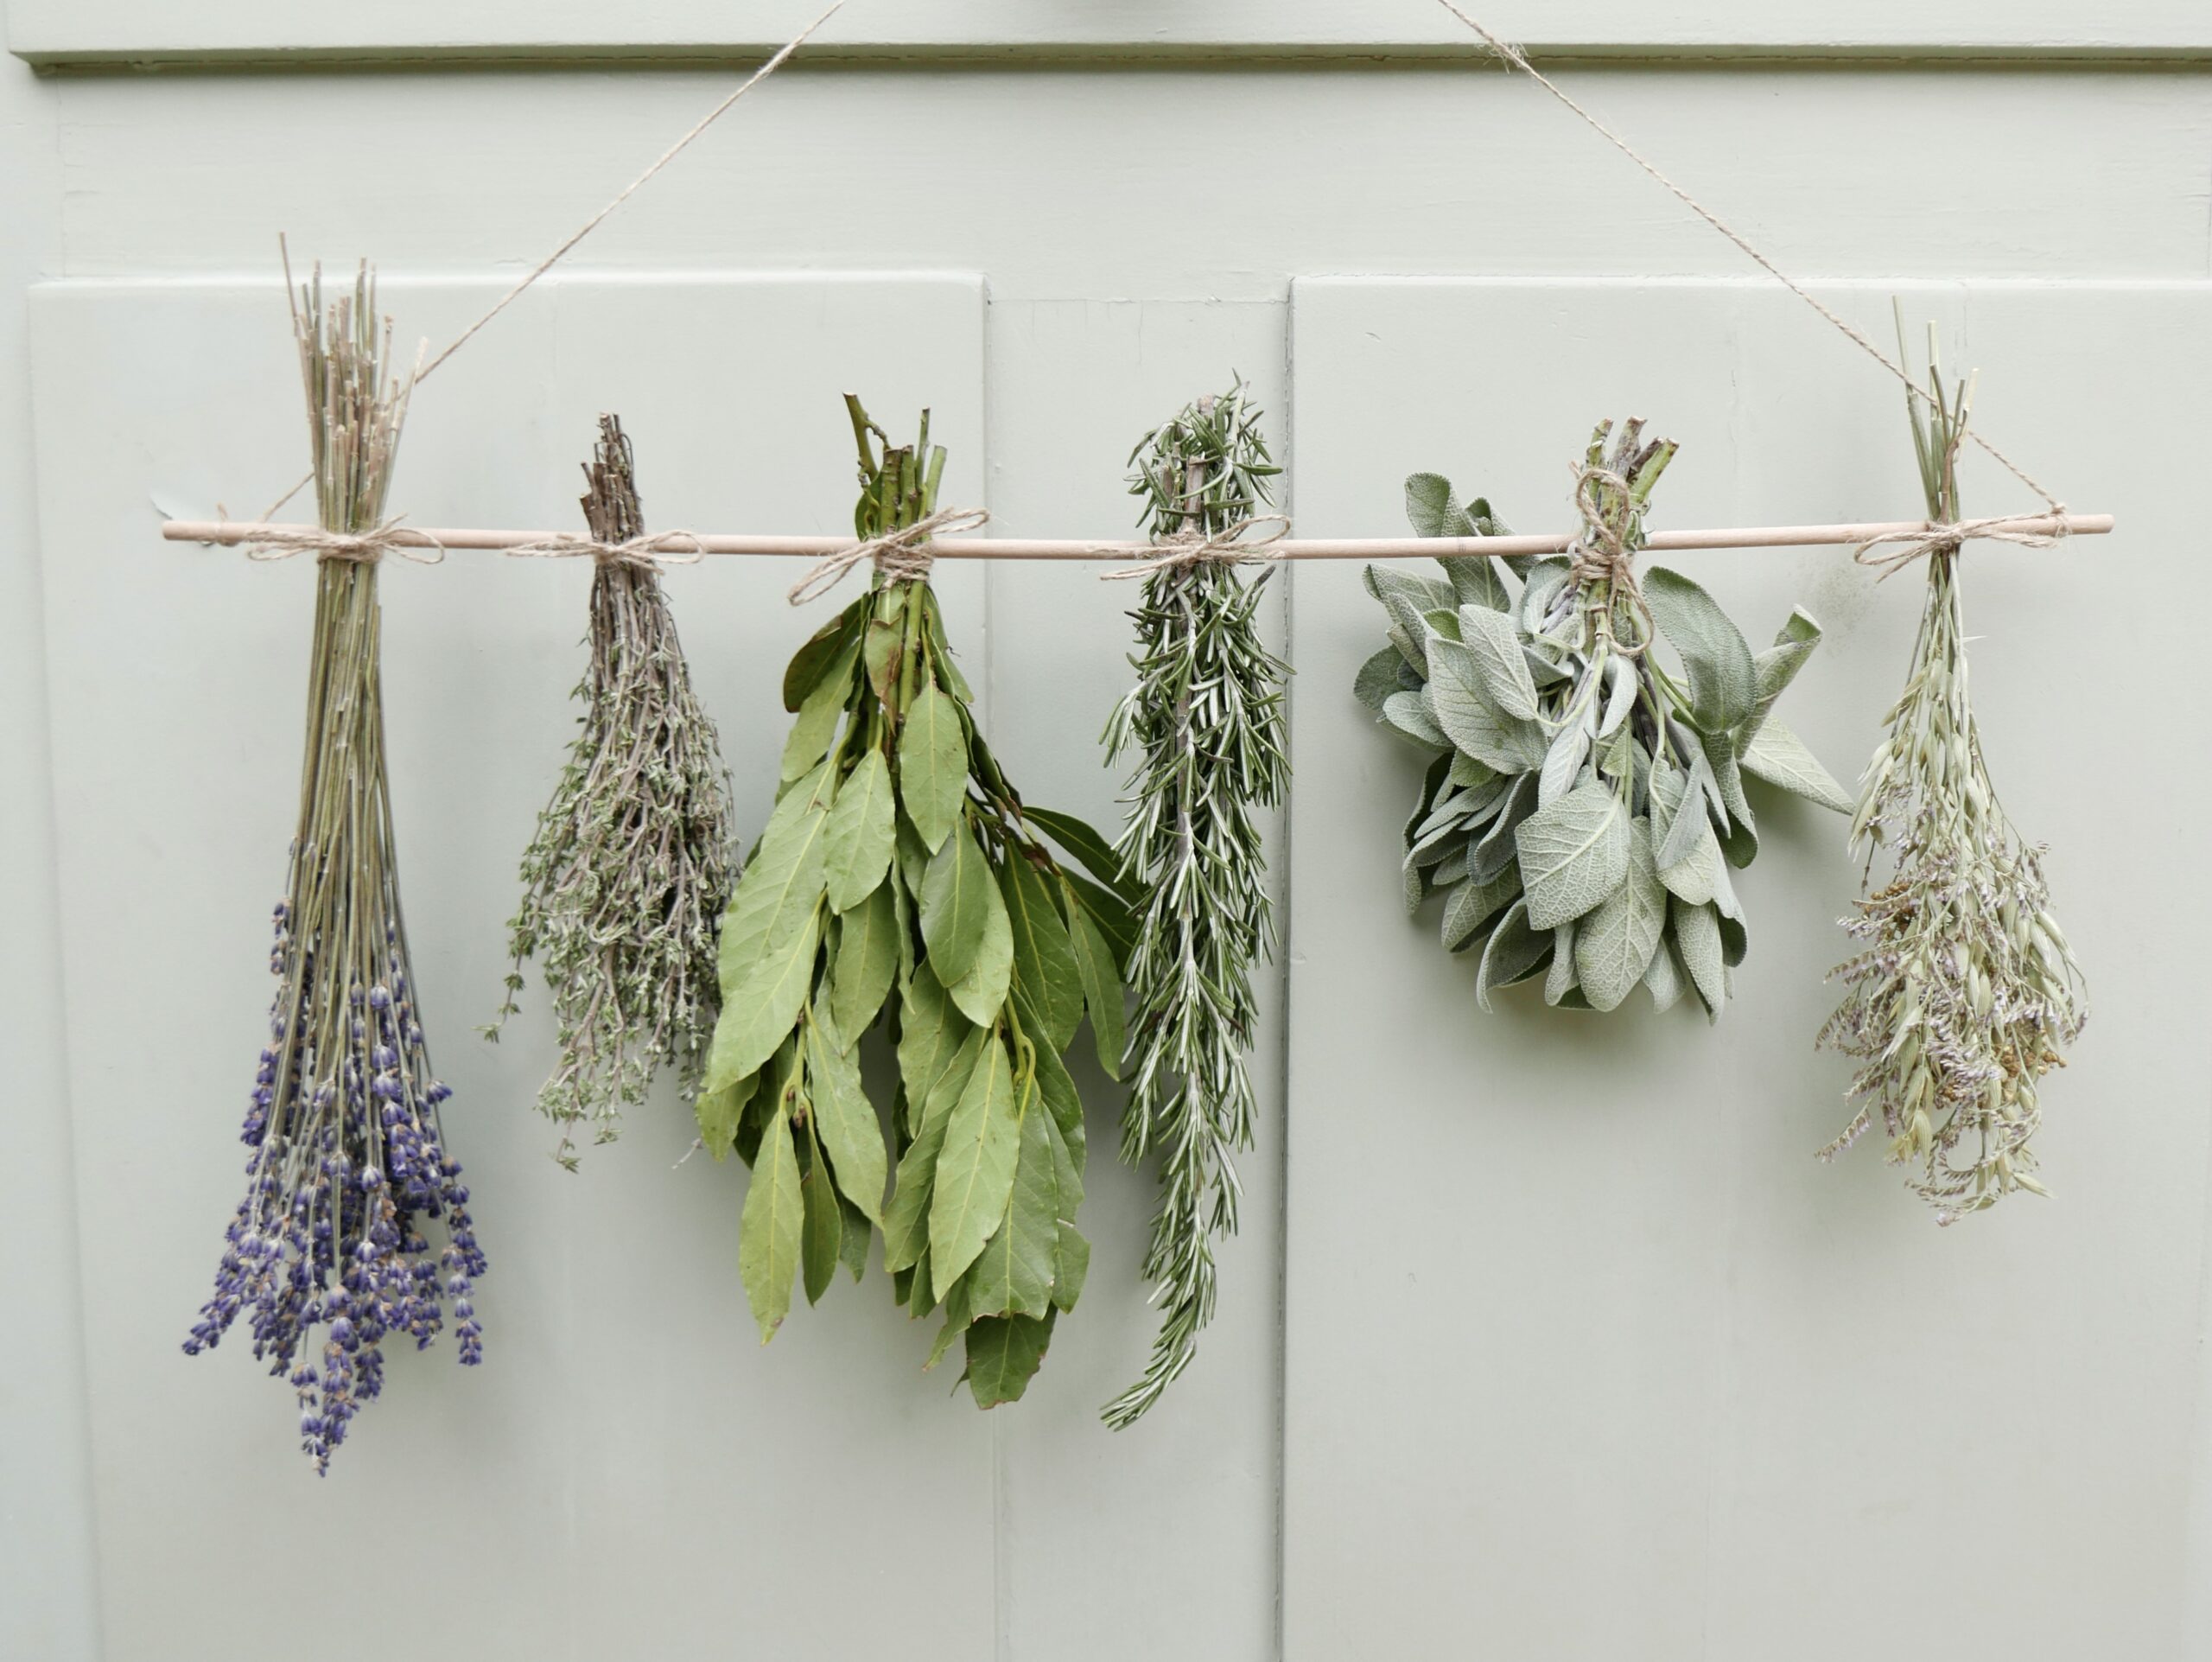
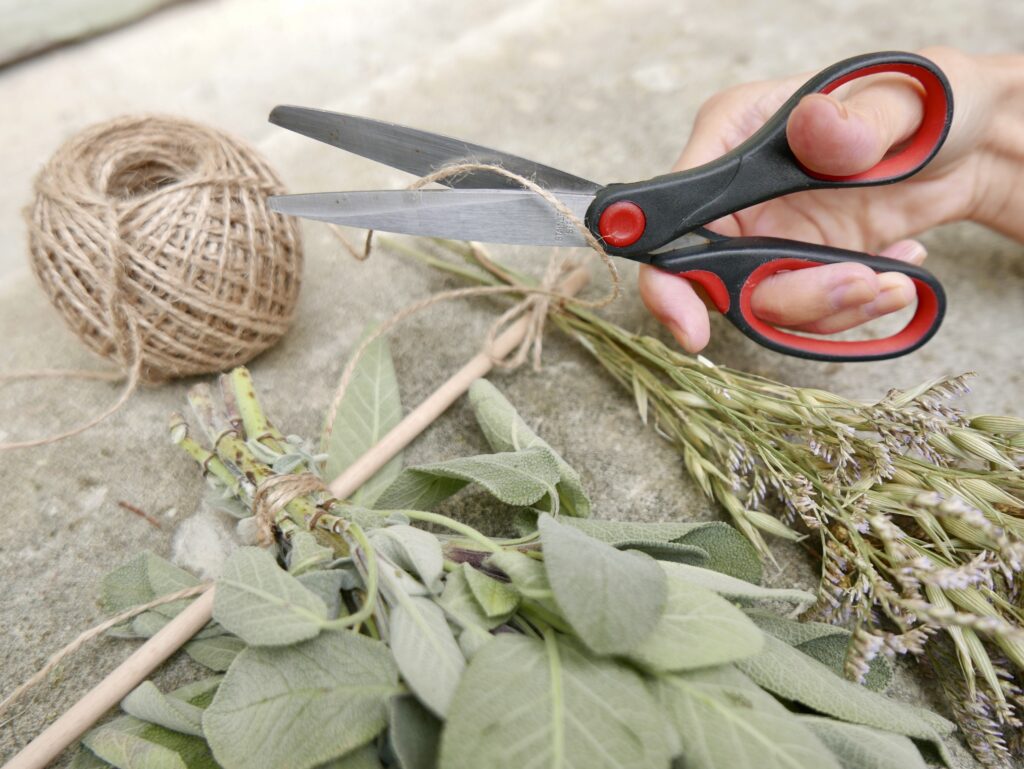
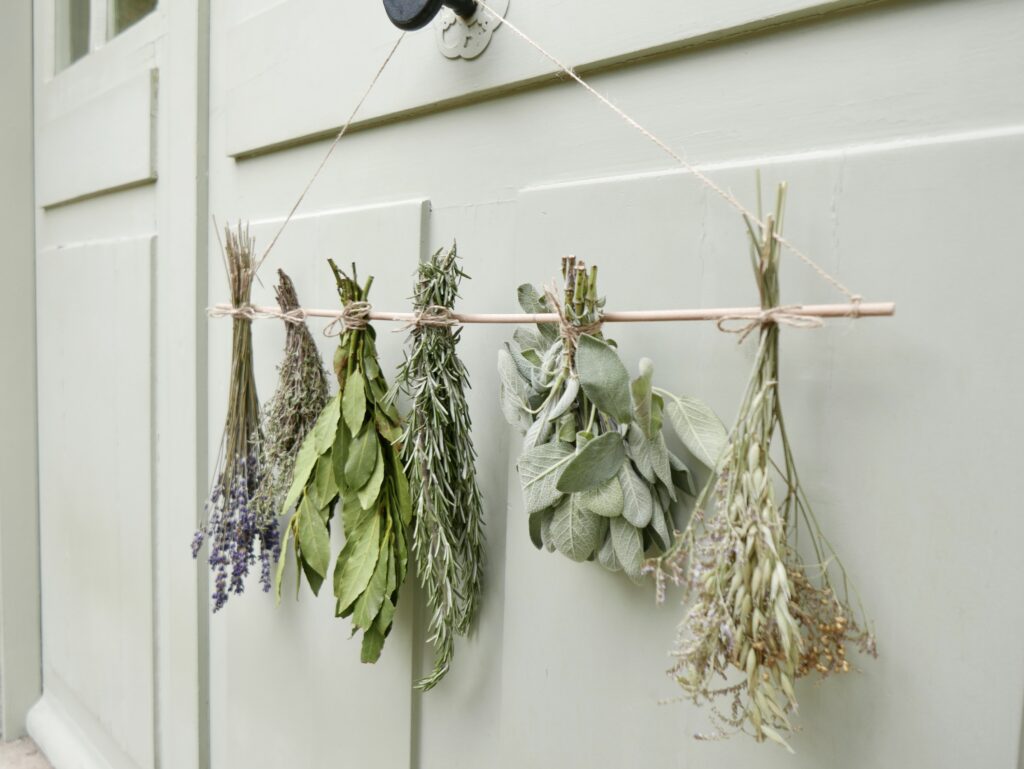
I chose rosemary, thyme, sage, bay leaves, and lavender. The addition of lavender, or other dried flowers, is a great way to enhance the rustic charm. I also added a few dried flowers from home to give the herb rack a more Provençal touch.
GATHERING THE SUPPLIES FOR YOUR DIY HERB DRYING RACK
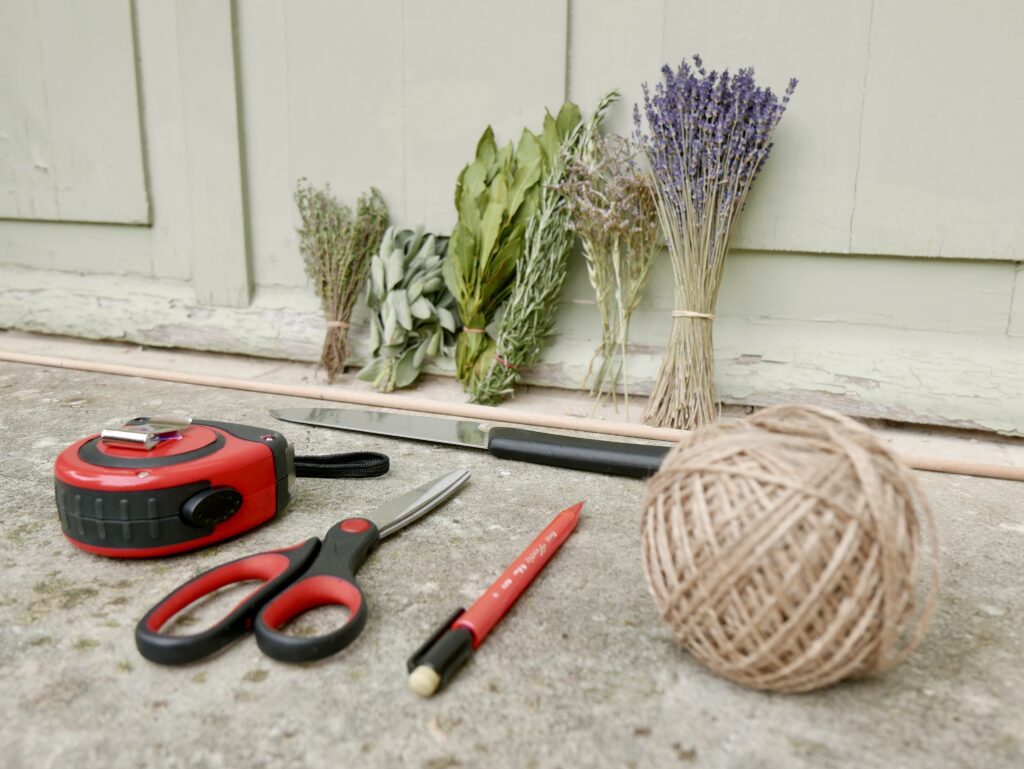
The supplies for this picturesque project are super simple. All you need are the following materials:
-Bunches of herbs
-Dried flowers (optional)
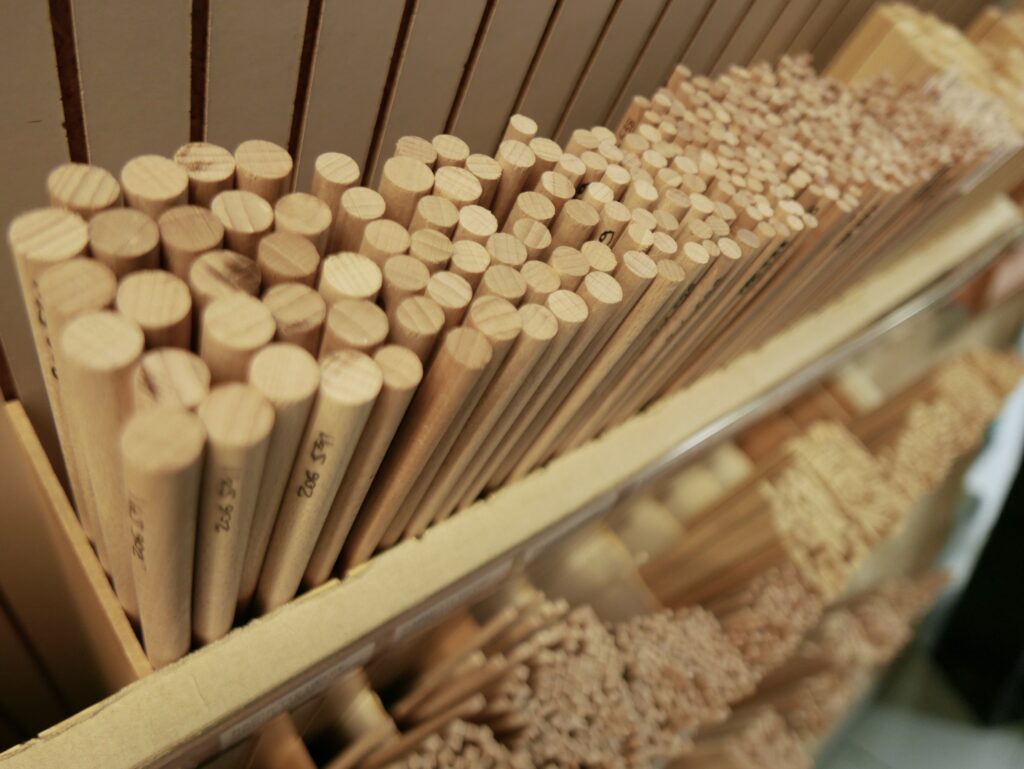
-Dowel rod
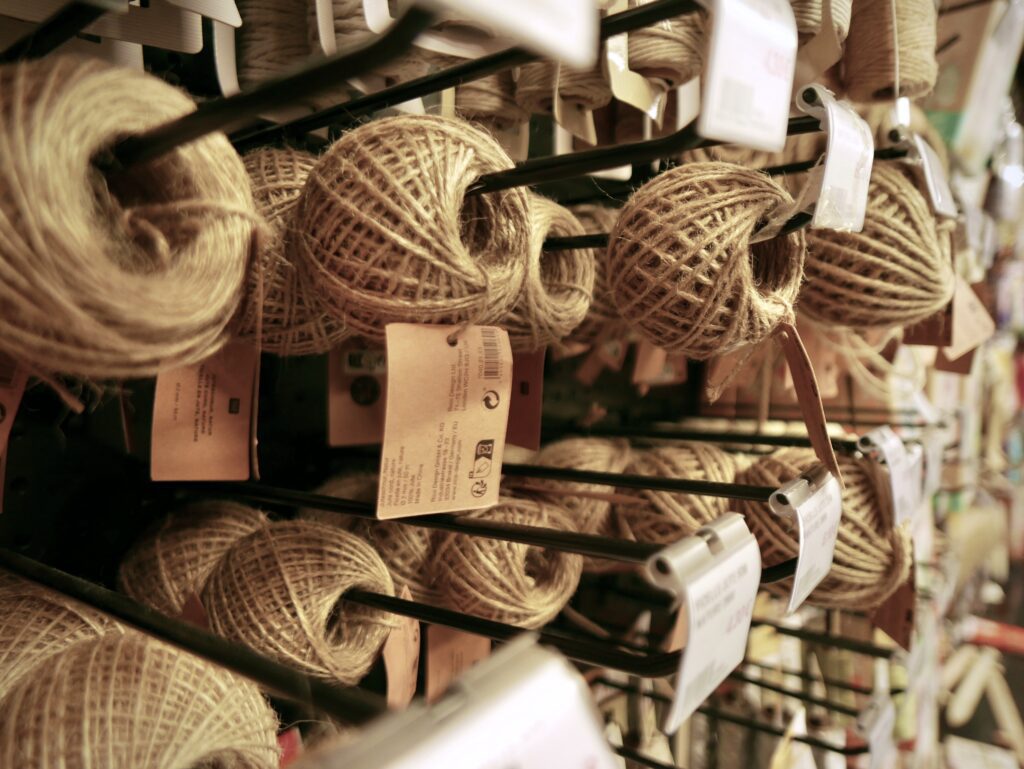
-Twine
-Scissors
-Pencil
-Measuring tape
-Knife or hand saw
You can purchase a dowel rod from your local craft store. There are several diameters to choose from, so you want to select the rod that best suits the size of your bouquets. You can always adjust the length later on.
When it comes to the twine, choose a relatively thin option that will still hold the weight of your herbs. It should be easy to tie tight knots yet substantial enough to make a visual statement.
CONSTRUCTING YOUR BOHO HERB RACK
It’s time to start the DIY process! The first step is to measure your dowel rod. Lay out your bunches of herbs with your preferred spacing and leave a little extra room just in case. For six bouquets, the perfect length for my dowel rod was 61cm or 24”. You can use a pencil to mark the desired length of your dowel rod.
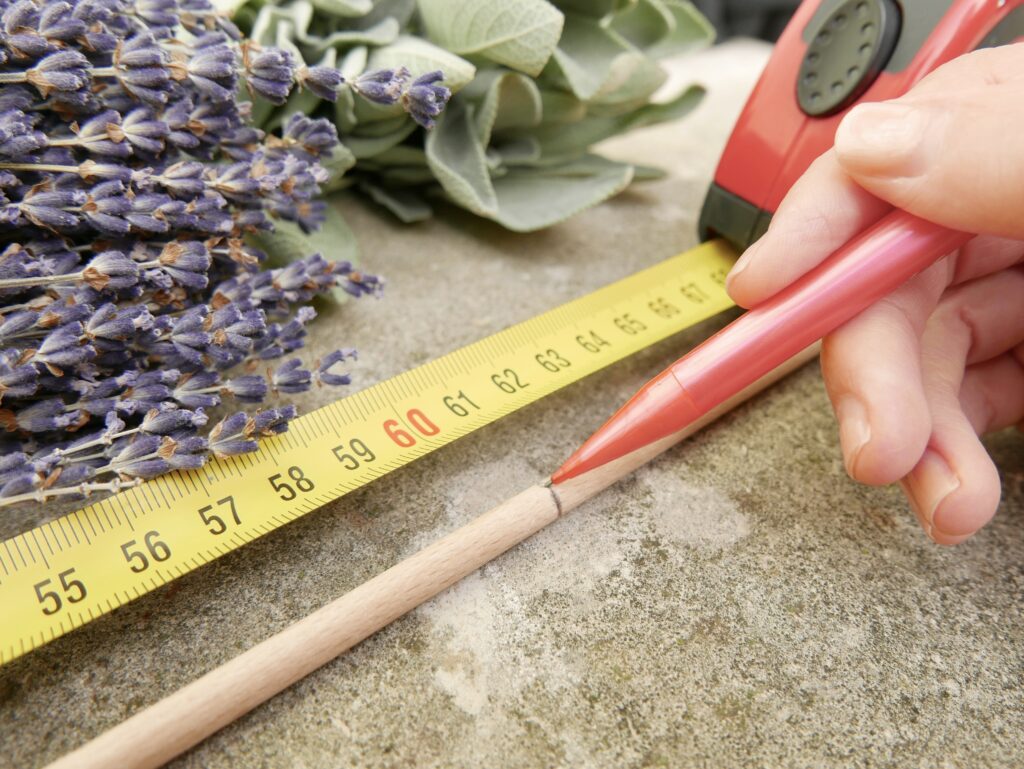
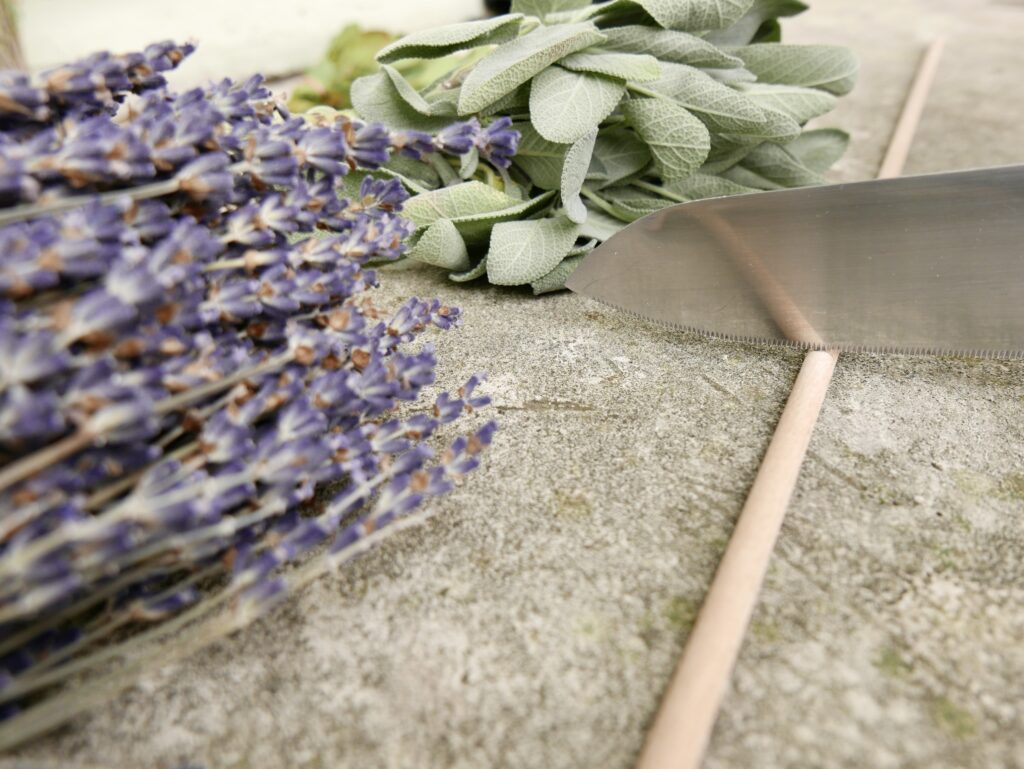
Next, use a knife or a hand saw to gently cut the rod across the line.
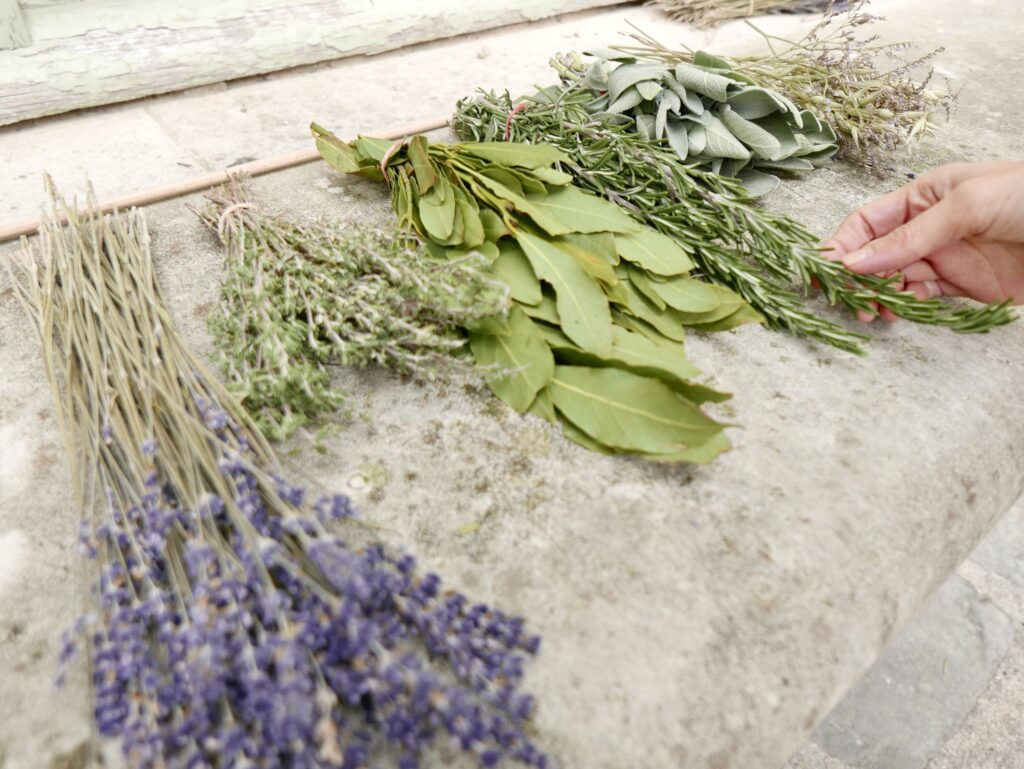
This is the fun part! You get to decide on the arrangement of your bouquets. I think it looks best to alternate lengths for optimal visual variation.
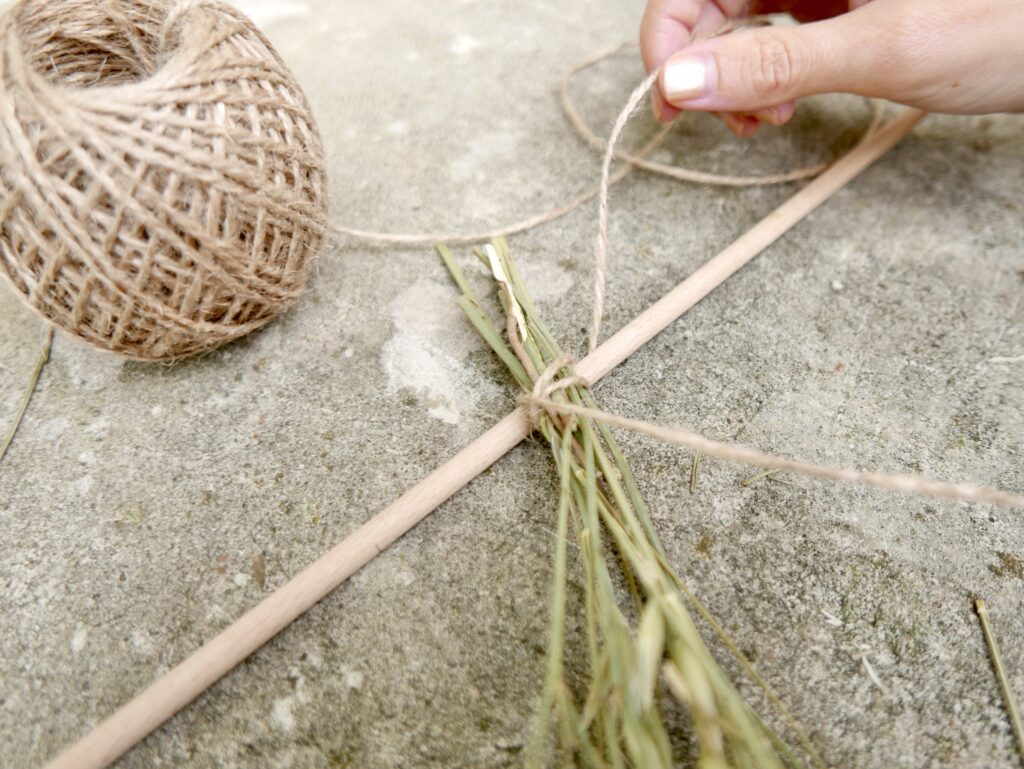
If you want to make exact measurements, you can use the pencil to lightly mark the placement of each bouquet. Before you start tying your herbs to the rod, you may want to tie together the thicker bunches for extra support.
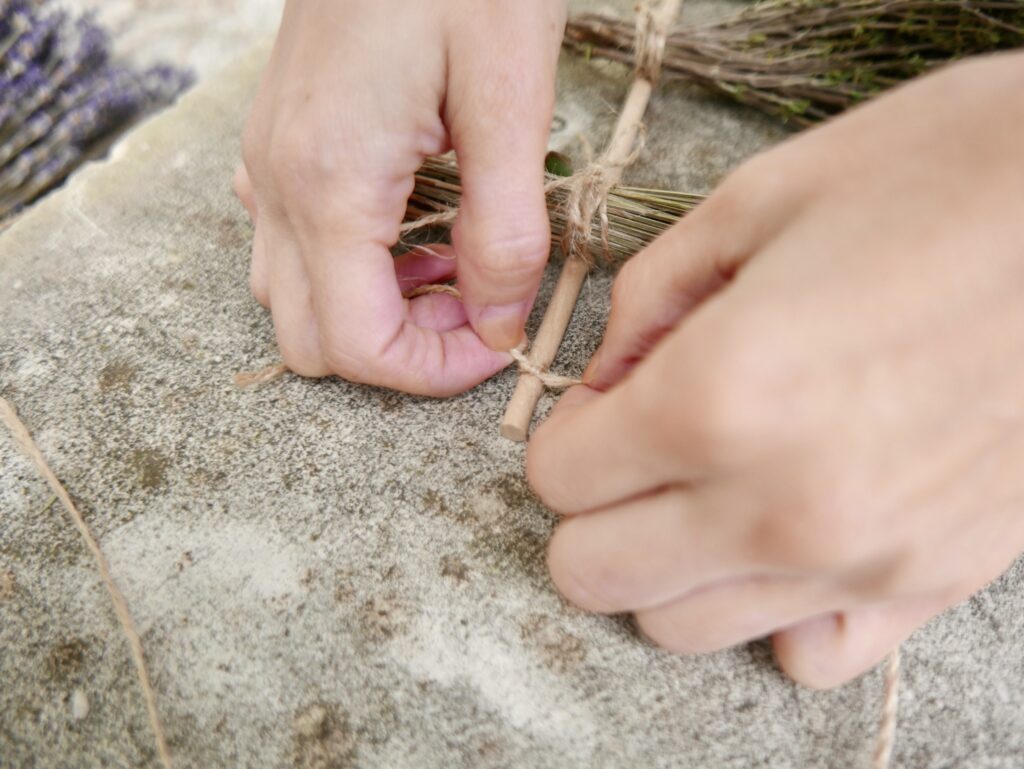
Once you have the bunch tied together, wrap the twine around the dowel rod and the bouquet several times. Make sure to wrap the twine in alternating directions for a stronger hold.
You can tie your bow before or after cutting the twine, but I prefer to do it before so that I can make sure there is enough twine to make all of the bows the same size.
As you tie your bunches to the rod, make sure they are evenly spaced. If you want to be extra careful, you can start with the outside bouquets and work your way in so you don’t run out of space.

After you’re done tying your herbs, make a small mark about an inch away from each end of the rod. For extra security, you can cut a very small indent with your knife. This will give your twine a better hold so it doesn’t slide inward.
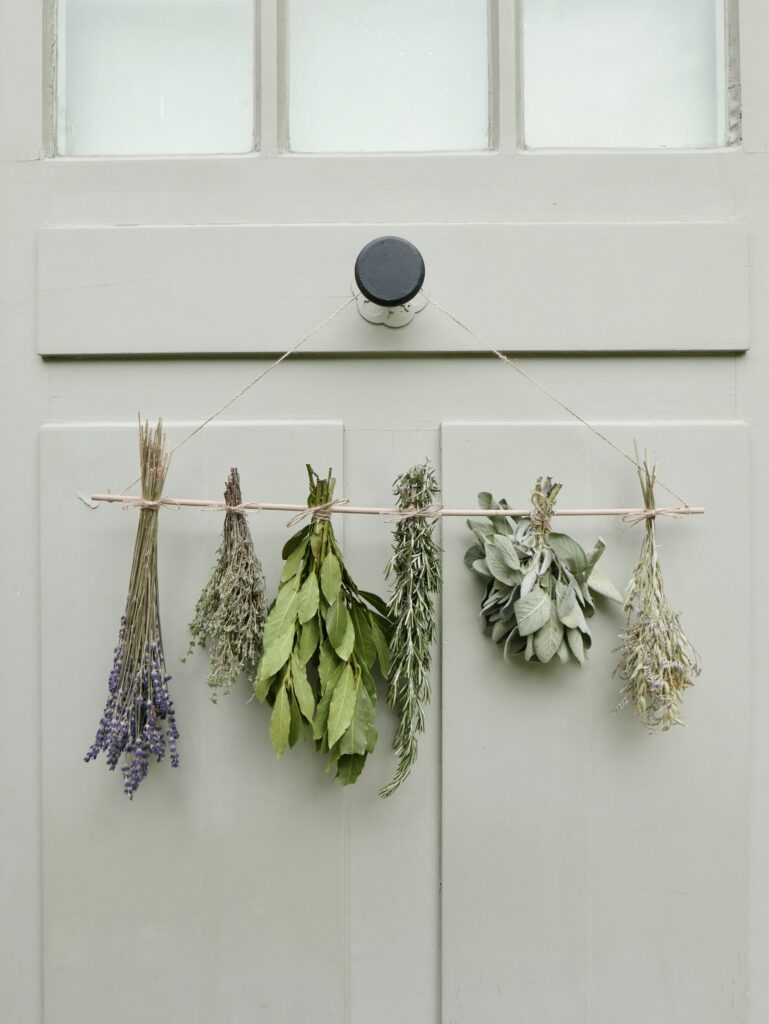
Now that you’ve tied your final knot, your herb rack is complete!
Pro tip: Hang your rack away from humidity to allow for a faster drying process.
THE BENEFITS OF YOUR NEW DIY HERB DRYING RACK
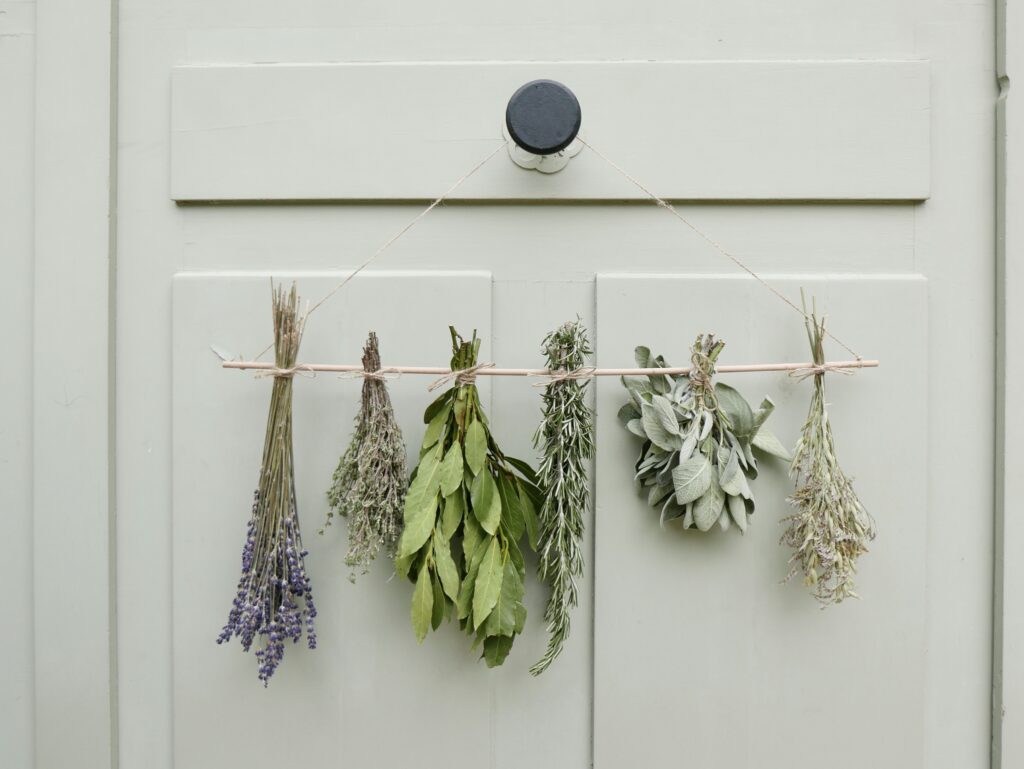
Not only is your DIY herb drying rack practical, but it also makes for lovely DIY boho decor. By combining a few simple materials, you can craft a functional and aesthetically pleasing herb rack that fits seamlessly into your cooking space.
The benefits of having fresh herbs at your fingertips are endless – from elevating the flavors of your dishes to enhancing the organic aesthetic of your home.
Give your kitchen a touch of the French countryside. The next step is to start preparing your recipes to utilize your beautiful bunches of herbs! Soon you’ll find this becomes a kitchen essential. Bon Appétit!
THIS POST TAUGHT YOU HOW TO CREATE A DIY HANGING HERB DRYING RACK.
Some of the links in this article are affiliate links, meaning, at no additional cost to you, I will earn a commission if you click through and make a purchase. See our full disclaimer here.